How to crochet garter stitch
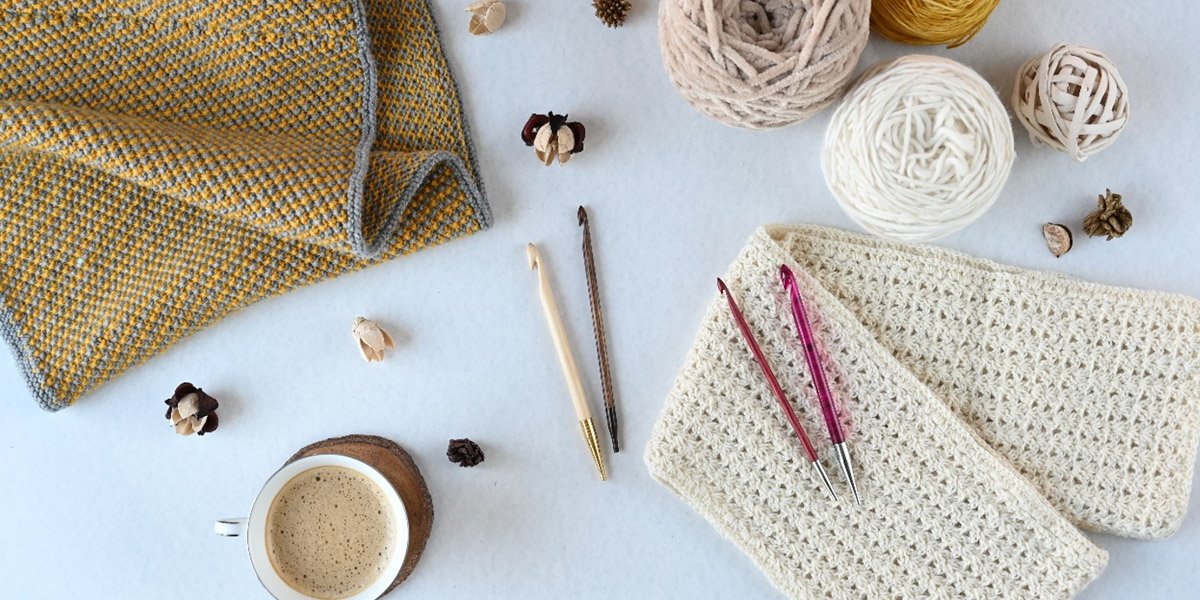
Did you know you can create a knitted garter stitch pattern using a crochet hook? Yes, it’s possible; this classical technique creates a textured and spongy fabric. Don’t confuse yourself with knitting; it is equally versatile and great for beginners who want to master this stitch pattern. It’s an excellent technique that every crocheter must learn and apply to their project. It creates a reversible texture whether you are making a scarf, blanket, or sweater. In this guide, we will discuss the garter stitch and tips for creating a successful project with this.
Are you ready to learn this creative pattern? Great!
Garter Stitch- A classical
For crochet enthusiasts, the garter stitch is a classical knitting design, simple and distinct from other stitches. A pattern is made by altering between rows of single crochet works through the front and back loop, which creates a wavy shape that looks similar on both sides. Getting garter-look stitches in crochet is complicated because it follows a specific stitch pattern.
What skills do I need for garter stitches?
To create a garter stitch-like pattern with your single-ended crochet hook, you need to use a combination of different stitches that replicate the appearance of knit garter stitch.
Chain stitch (CH): you must know the chain stitch, which is the foundation of every crochet project.
Slip stitch (ST): This is the primary stitch in garter stitch crochet. You must know how to insert a hook into the loop and work stitch evenly. Consistent tension is essential; otherwise, the fabric becomes less stretchy.
Turning chain: You will need to create a turning chain more frequently at the beginning of rows and know how to make it.
Explore step-by-step garter stitch patterns
Make a slip knot first and start with a foundation chain, at least 15–20 stitches using double-ended crochet hooks or single ones. We recommend, starting with a small swatch and then jumping to the final project.
Step 1 Slip stitch (back loop)
● Start from the second chain from your hook.
● You can also use a single-ended crochet hook and insert a hook into the back look of the chain.
● Yarn over and pull up a loop.
● You will create a slip stitch by pulling this loop through the loop on your hook.
● Continue this process into the back loop of each chain across the row.
Step 2 Slip stitch (front loop)
● Turn your hook
● Now, you will work only on the front loop.
● You will find the front loop by looking at the top stitch, which will look like a back loop.
● Then insert the hook into the front loop.
● Again, yarn over and pull a loop.
● Then, to make a slip stitch, pull this loop through the loop on your hook.
● Continue this process across the row. Make sure you are working on the correct loop.
Suggestions and ideas for a perfect garter stitch
● To avoid gaps, make your tension even and consistent.
● Garter stitches look good with solid color due to which the stitches stand out clearly.
● As a beginner, you must start with small patterns like dishcloth or coaster to practice garter stitch.
● Keep track of row count to avoid confusion.
Ideal projects using garter stitches
With a garter stitch pattern, create simple and beautiful projects.
● The squishy textured pattern is good for baby garments like blankets.
● Make a stretchy and comfortable headband using a garter stitch.
● You can also make a cozy scarf with this method.
Beginner-friendly crochet garter stitch is a quick and simple technique to add texture to your crafts. As you know, it has a reversible pattern and alternating ridges making it useful in various designs and patterns. Most importantly, garter stitch will give your product a lovely, textured finish, whether you’re making a headband, scarf, or comfortable blanket.
Source:https://medium.com/@knitprogo/how-to-crochet-garter-stitch-933030642c44